CHAPTER 01
Choose the outcome you are preparing for
Your current run’s ruling choices matter. A marriage approach requires Audacity, not simply romantic dialogue with other characters.
| Goal | Action at the end |
|---|---|
| A Conqueror | Take the battle route and defeat Arthur. |
| Capitulation | Choose surrender when offered. |
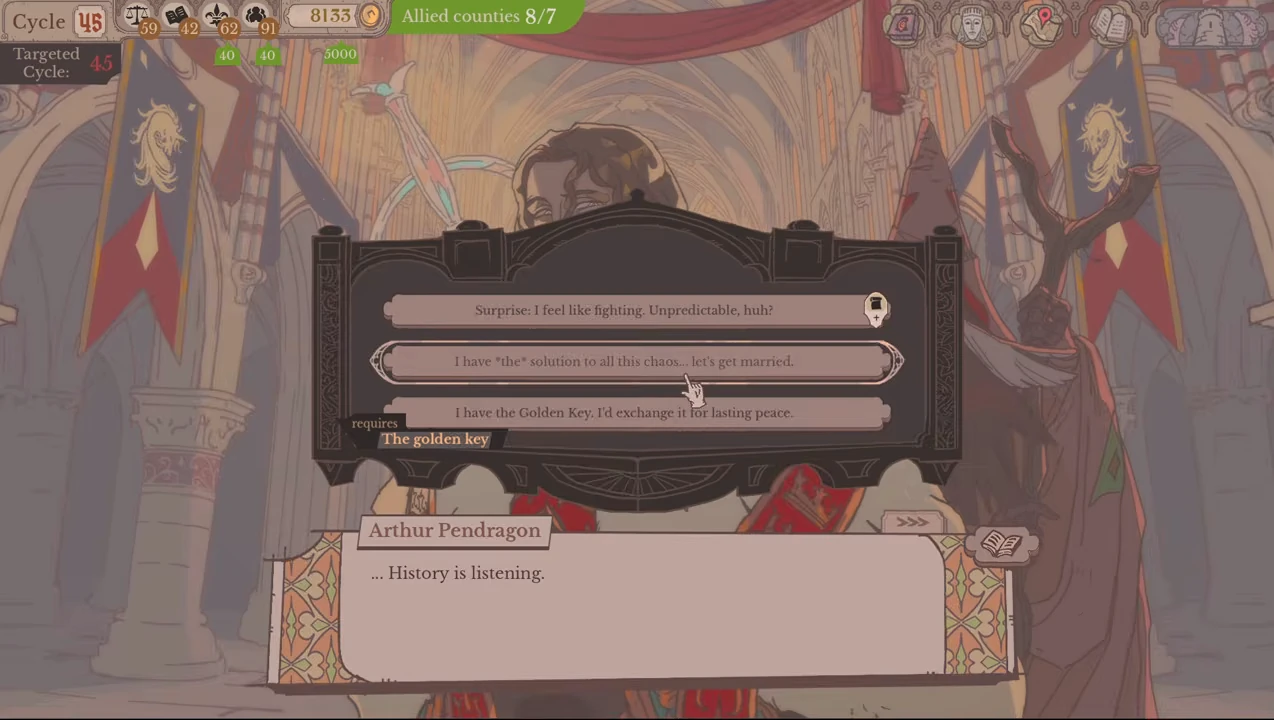
| Peace, at Last | Offer Arthur the Golden Key. |
| An Audacious Solution | Build an audacious rule and propose marriage to Arthur. |
CHAPTER 02
Obtain the key before planning a peace offer
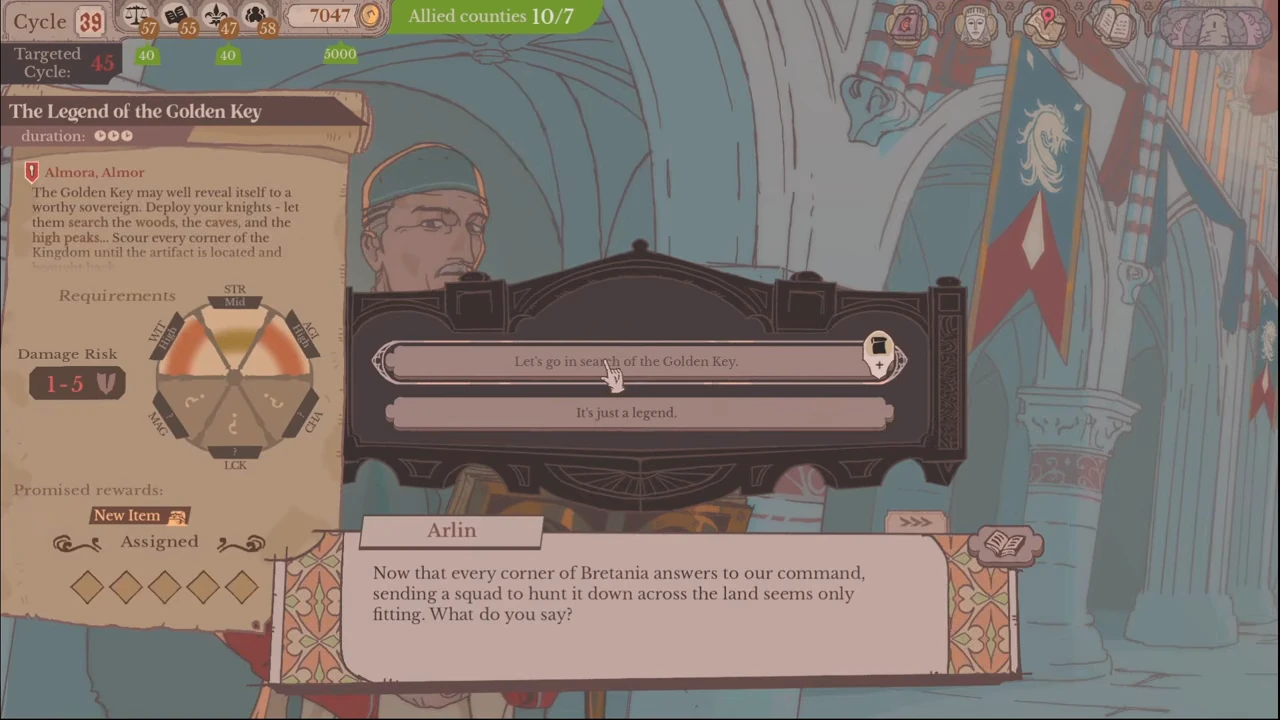
Ally all ten counties, complete Arlin’s key-search quest and obtain the Golden Key before planning the peace offer.
Arlin’s search response opens The Legend of the Golden Key. The recorded card shows three cycles, five party places, and requirements in STR, AGI and WIT. Open that named quest at the Round Table, prepare the party against its displayed requirements, and read the completed result before treating the key as obtained.
CHAPTER 03
Prepare separately for The Last King of Brizh
Recruit Epicrates through a not-guilty verdict at Brimwood; breaking him out prevents that county’s alliance.
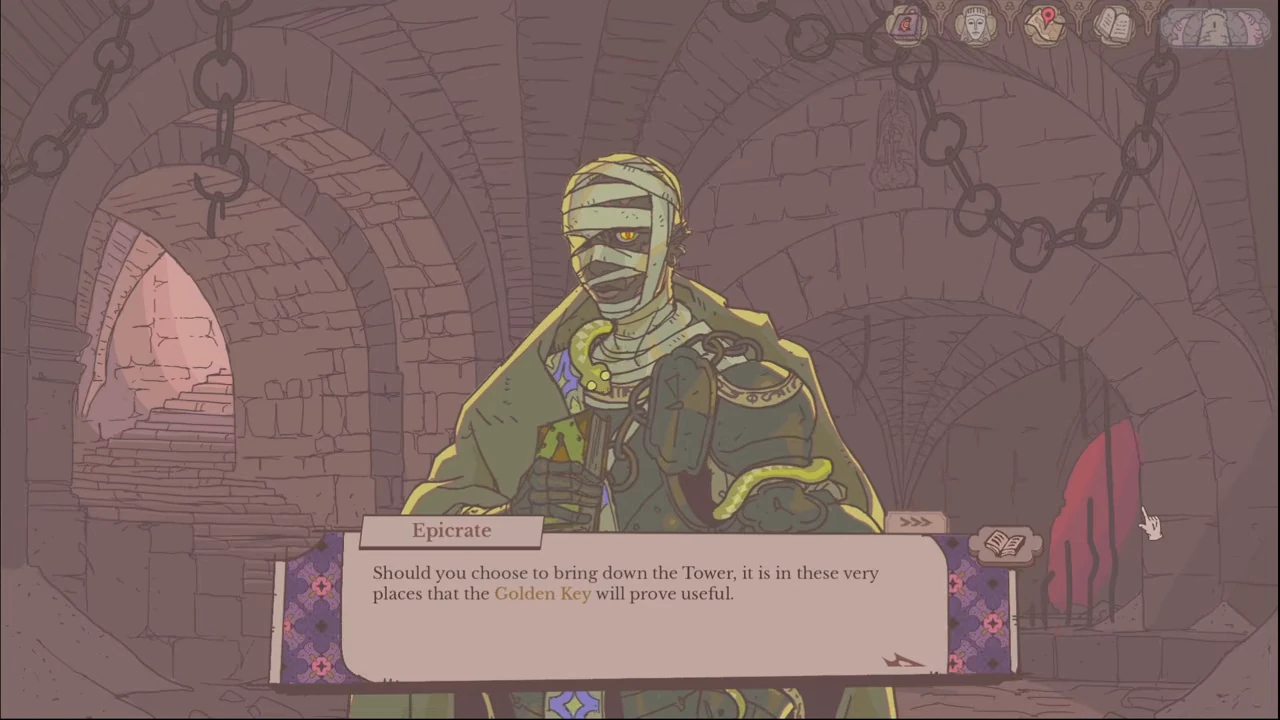
Recruit Epicrates, develop his affinity and support his plan to dismantle the monarchy. Obtain the Golden Key and follow his key-placement dialogue. Complete that run without a mid-run rewind, then defeat Arthur through the plan’s route.
CHAPTER 04
Open the available private conversation
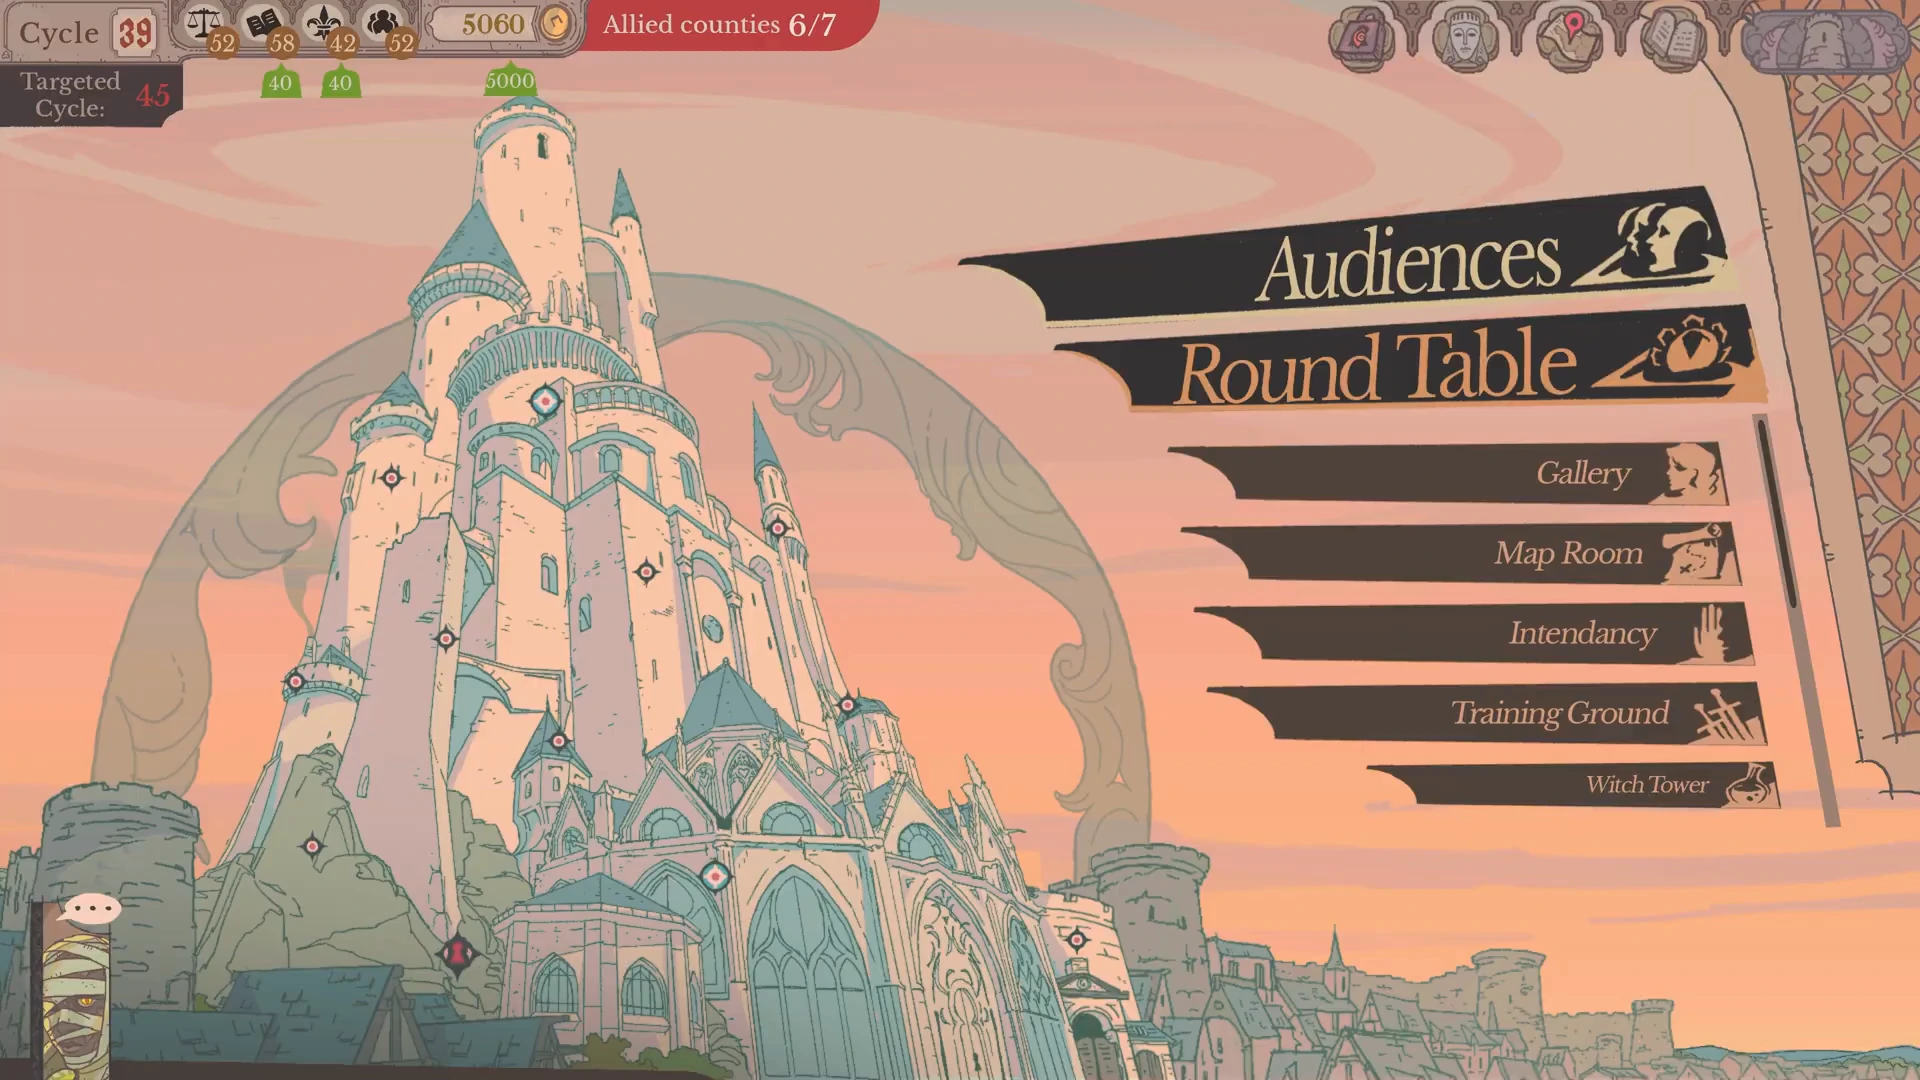
On the tower screen, select Epicrates’s portrait with the speech bubble at the lower left when it appears. The recorded interaction opens his private conversation in the Crypt.
CHAPTER 05
Accept the plan at the final choice
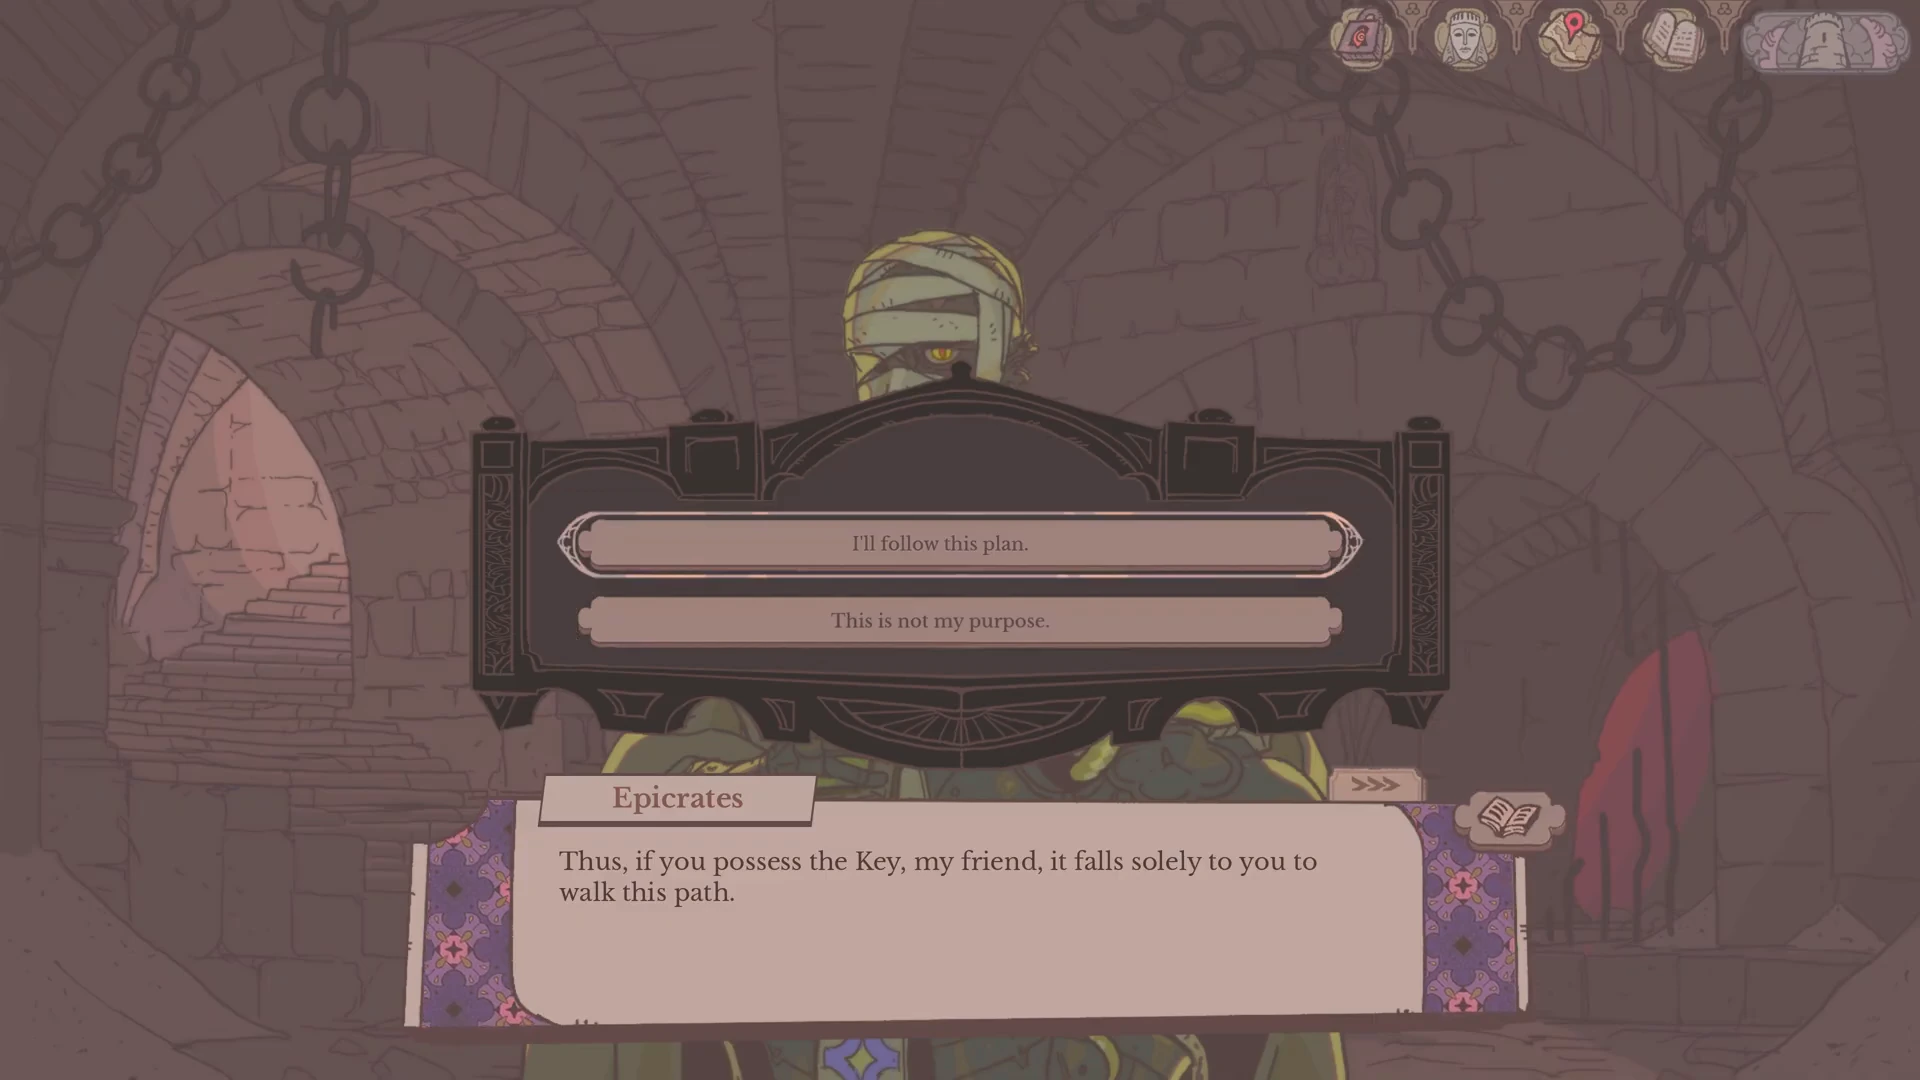
Read the conversation through to its final commitment menu. The earlier three-choice attitude question is a separate decision.
- At the two-choice menu, select “I’ll follow this plan.”
CHAPTER 06
Check the response before proceeding
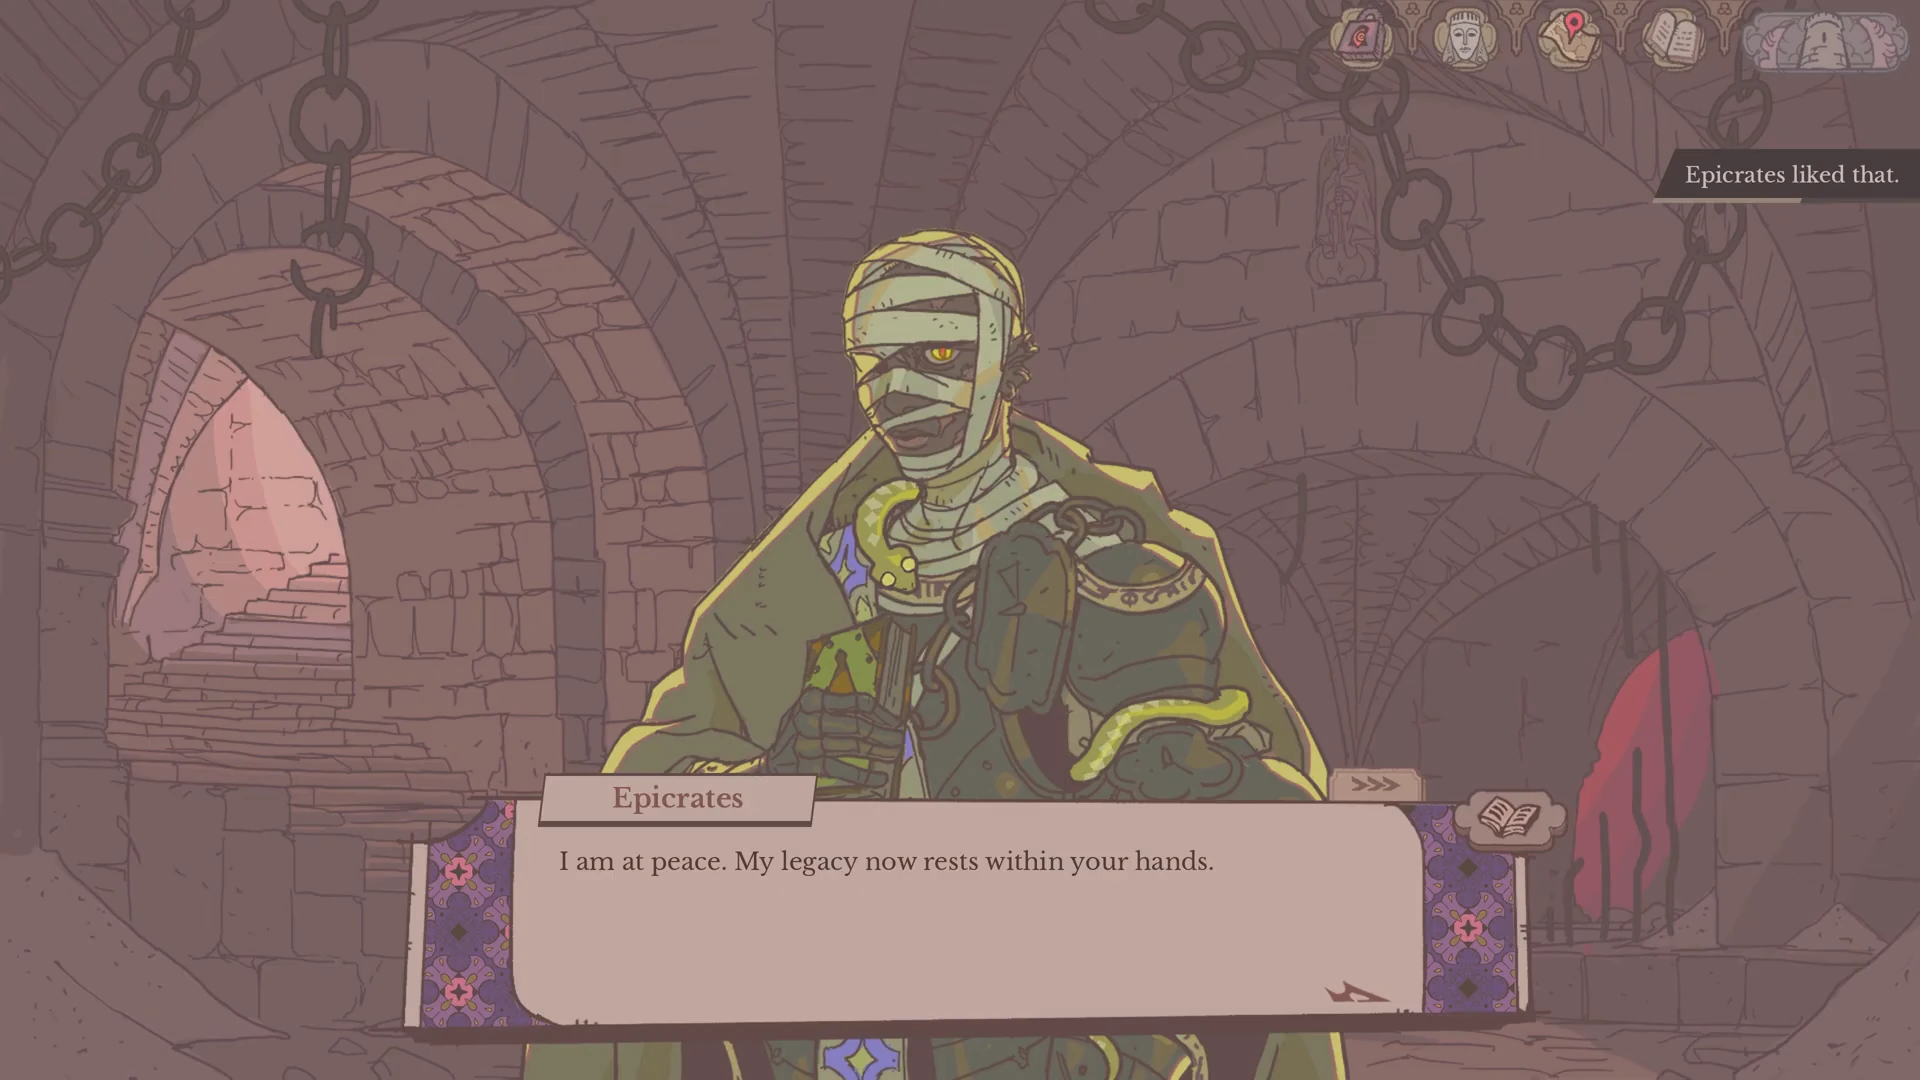
Continue after the choice. The recorded response shows “Epicrates liked that.” and he entrusts his legacy to the ruler. Then proceed toward the ultimatum and the confrontation described below.
CHAPTER 07
Identify Epicrates’s response at Arthur’s ultimatum
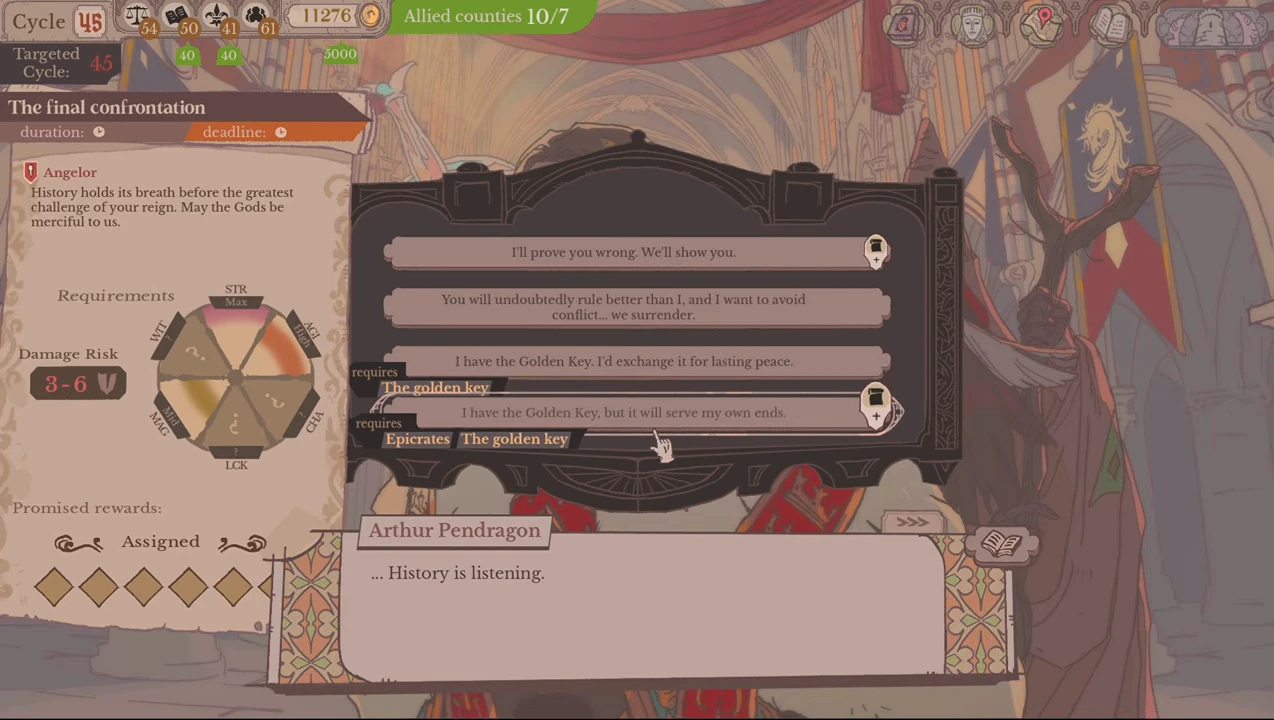
When the key-plan response is available, choose the offer to use the Golden Key for your own ends. Its requirement labels name both Epicrates and the Golden Key, and it opens The final confrontation.
The key-plan response opens a quest. Finish its party assignment and resolution before continuing to the ending audience.
CHAPTER 08
Assign the final confrontation party
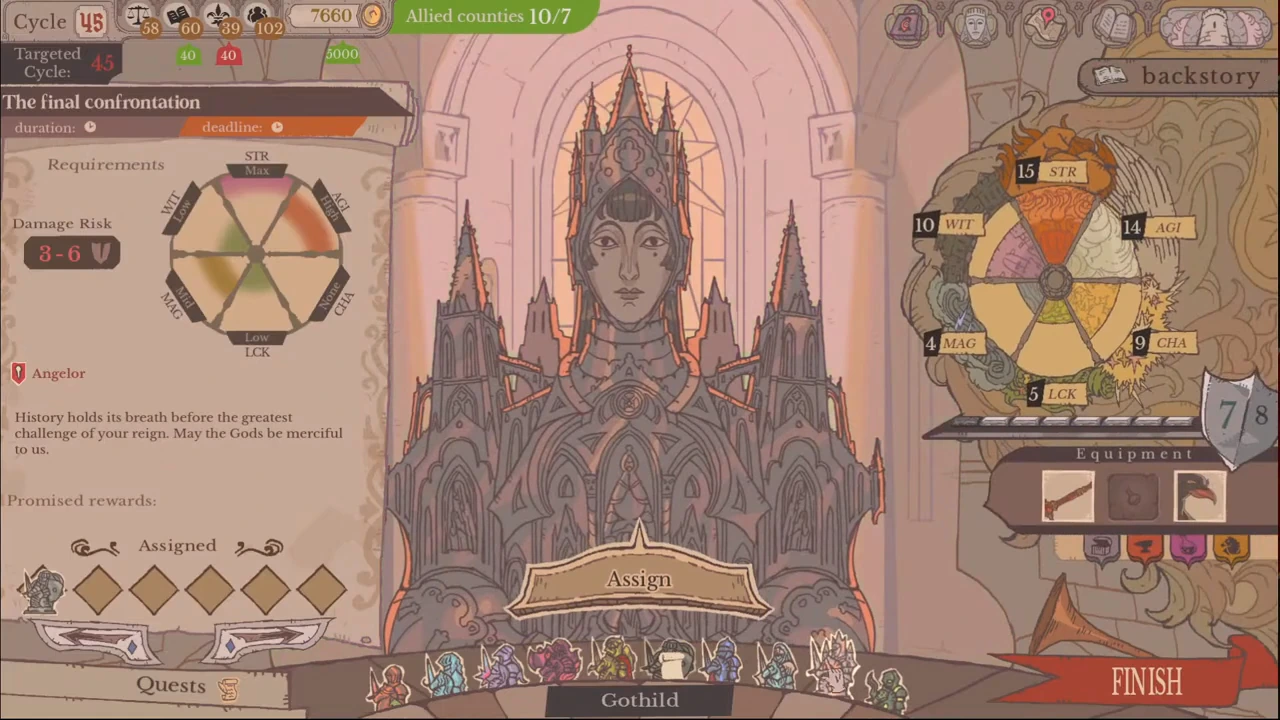
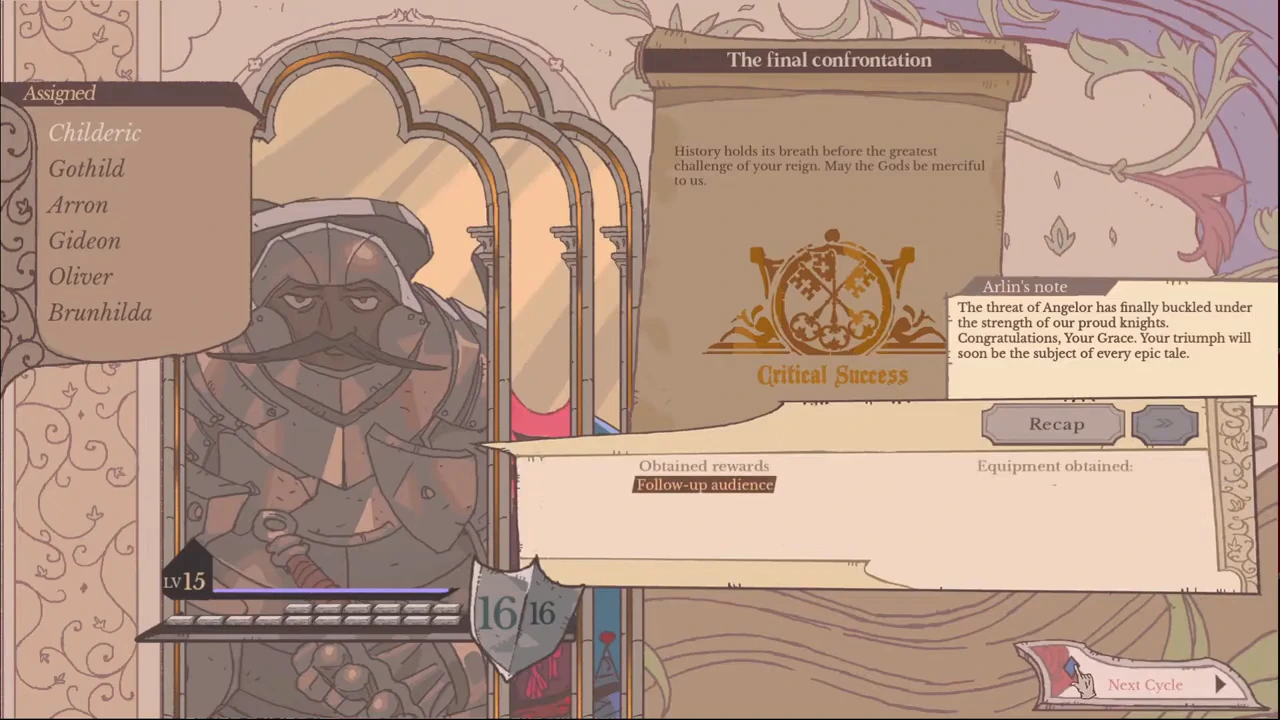
At the Round Table, select The final confrontation by name. The illustrated card has six assignment places and a damage risk of 3–6. Other quests can still appear alongside it.
- Select an available knight and compare the card requirements with the knight’s skills and equipment. Check current armour against the displayed damage risk.
- Use Assign, then check the portraits under Assigned. Fill the six places with the party you intend to send.
- Use FINISH after checking your assignments, then continue through the resulting quest cards.
CHAPTER 09
Confirm the confrontation result
The recorded party resolves The final confrontation with Critical Success. The result card names six assigned knights and lists Follow-up audience under Obtained rewards. Continue through the results into that audience; Merlin’s dialogue leads into the Crypt scene.
CHAPTER 10
Continue the recorded destruction route in the Crypt
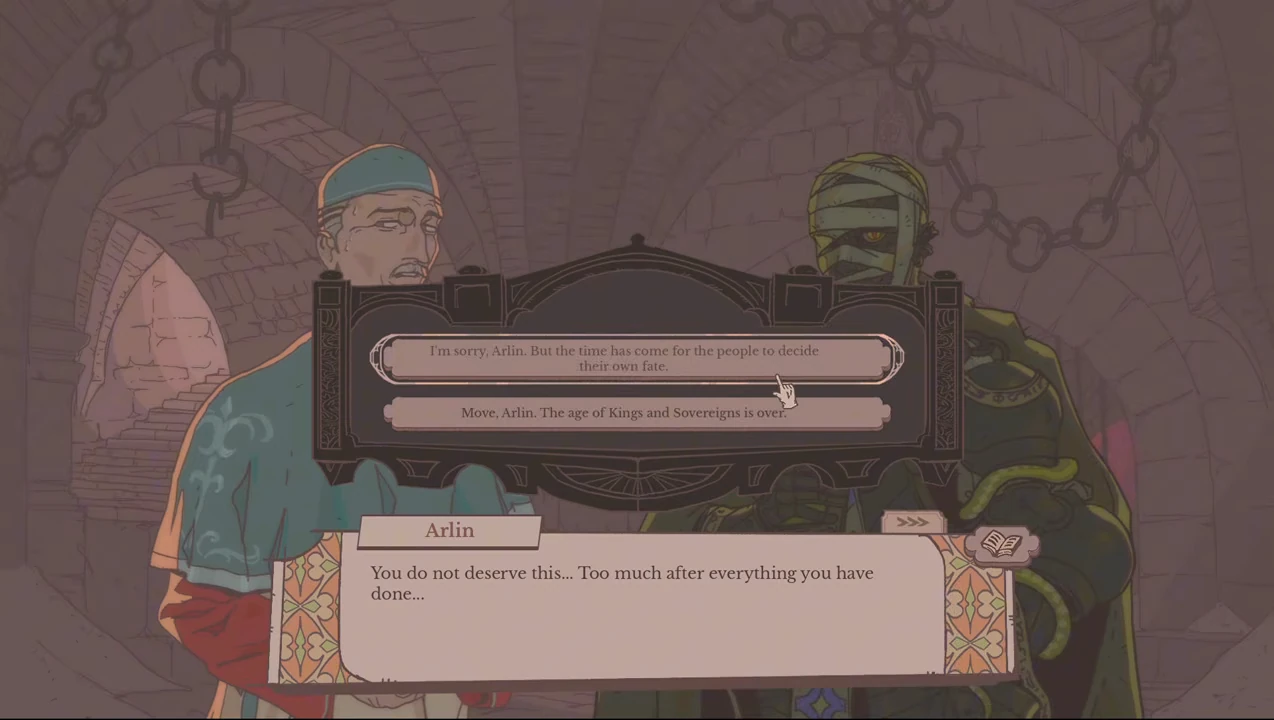
Continue after Merlin’s dialogue into the Crypt scene with Arlin and Epicrates. When Arlin objects, the recorded player chooses the response apologizing to him and leaving the people to decide their fate. The ensuing sequence shows the key used on the demon’s lock, the tower destroyed and the ruler’s memorial.
CHAPTER 11
Know what the destruction route does not guarantee
Keeping the key and choosing war alone is disputed by the published ending guide and its readers. Guides report no automatic “try again” prompt after destruction.
Donn’s separate playthrough report describes losing this route after rewinding to retry the key quest, then reaching destruction on another run without that rewind. This supports keeping the run free of mid-run rewinds; it does not establish a universal affinity number.
Keep this route free of Demon pacts. In Rosso’s conversation, Epicrates acknowledges that the ruler has avoided the Demon’s powers. In NeoPoly-tan’s pact-affected conversation, he instead explains that destroying the Tower would be futile; do not treat that reply as acceptance.
CHAPTER 12
Recording context
The end-choice footage was uploaded August 25, 2026; the key-request and Crypt-conversation footage was uploaded August 10. Neither identifies its game build. Their menus provide recognition points, not a current-version guarantee.
KVC’s ending playthrough was uploaded August 11, 2026. Its save menu displays version 1.0.6. The party and result illustrations above come from that recording.
The private-conversation footage is Signore Rosso’s August 31, 2026 upload; its build is unconfirmed. The contrasting pact dialogue is NeoPoly-tan’s August 30 upload, also without a confirmed build.
Source register
Wynderm — ending and achievement routes →
Astrrisk — achievement route notes →
Samhain — character and servant walkthrough →
Wild Wits — patch notes through 1.0.11 →
Tjoa Jun Choi — recorded ending branches, uploaded August 25, 2026 →
Donn — recorded key request and first-person ending attempts, uploaded August 10, 2026 →